Use Airdrop to share and receive Photos, Videos and other documents from nearby iPhone/ iPad that are nearby.
How to do airdrop?
- Make sure Bluetooth and WiFi is turned on both devices and are in close range.
- Incase either of device have personal hotspot on, then turn it off and Join to same WiFi network.
- On receiving device, make sure Airdrop receiving settings is set to “Everyone”. If its set to “Contacts”, sender’s Apple id would need to be available on receivers contact card.
Steps to Airdrop a Photo or Document
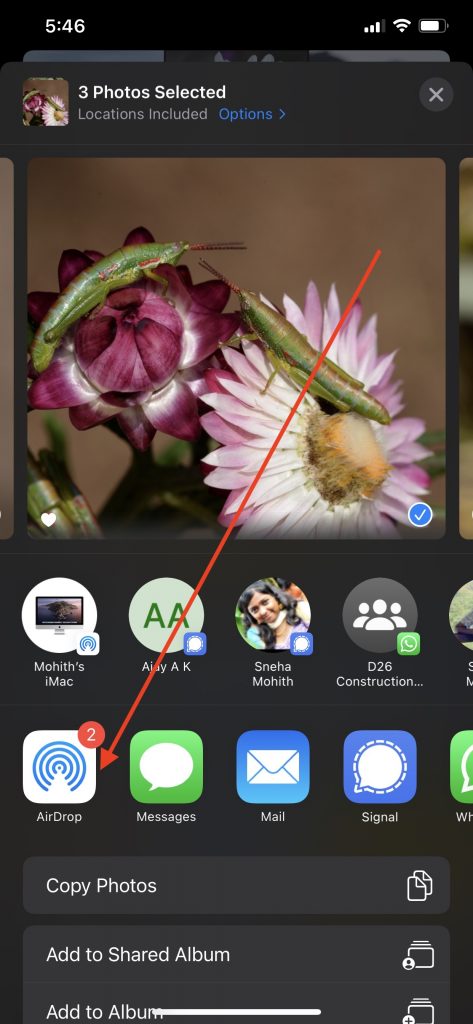
- Open the Photos App or Files App
- Select the items you want to share
- Tap on share button
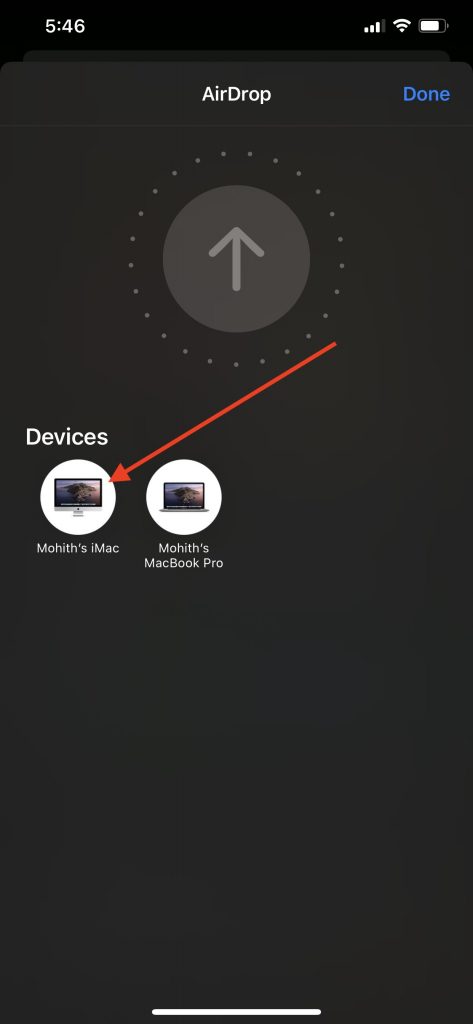
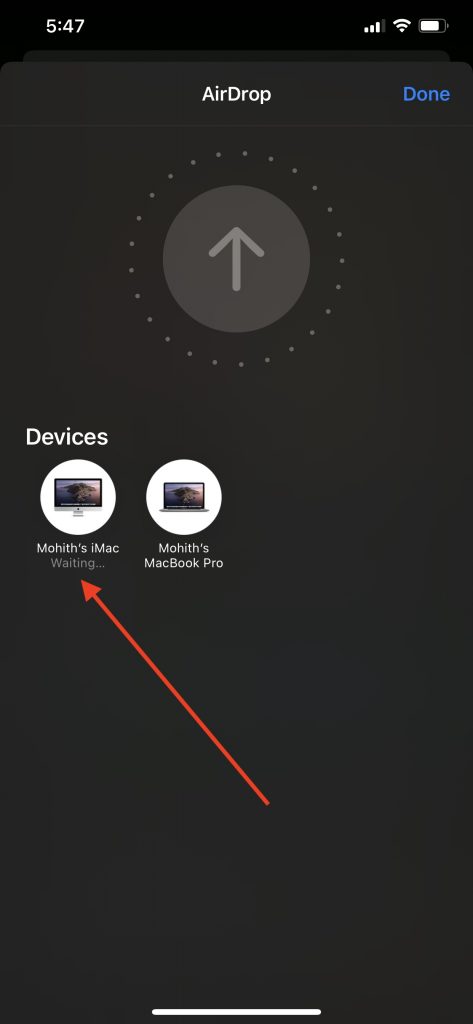
- Tap on airdrop button and then select user to whom you want to share photos/videos.
- On receivers end, tap on “Accept” button
Incase you are sharing photo/video from your iPhone to your iPad / Mac or vice versa. Since all these devices are signed in with same apple id, Airdrop requests would be automatically accepted. But if you are airdropping items to your friend, they needs to accept before files transfer gets started.

You will get “sent” after successfull transfer
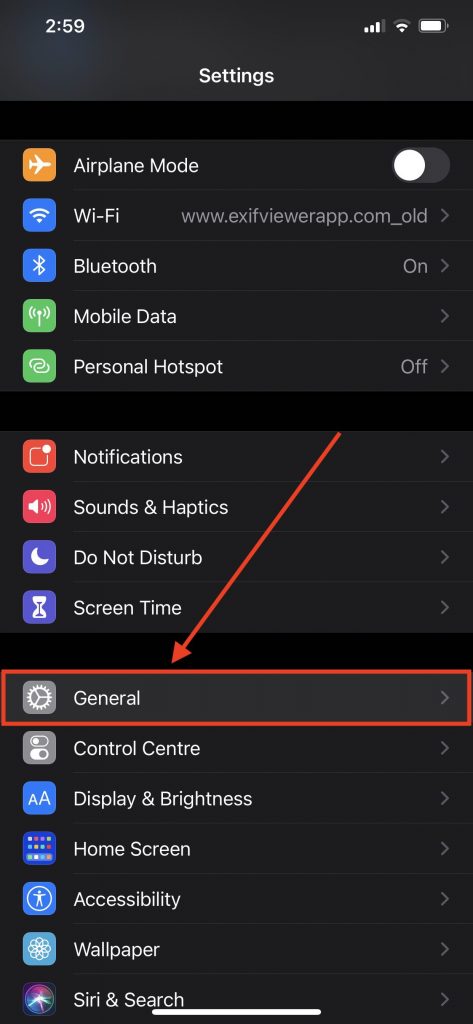
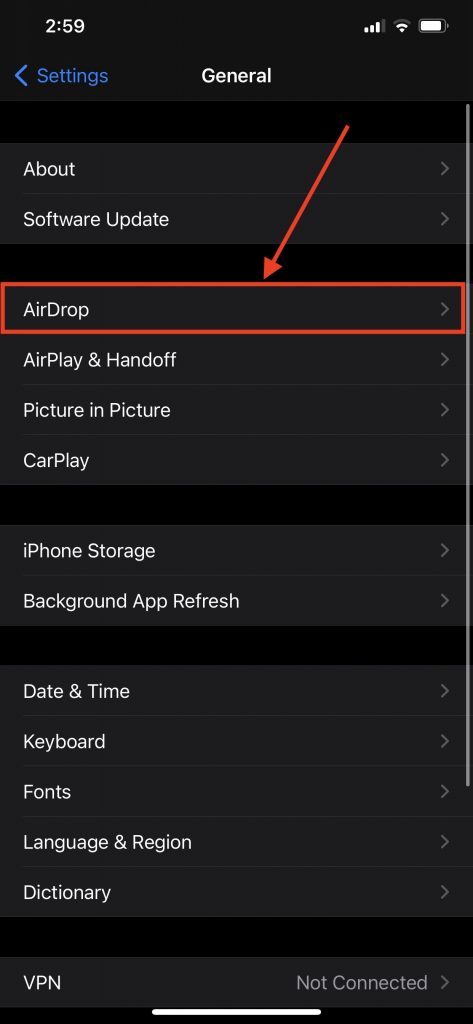
How to change AirDrop settings and how to enable or disable Airdrop receiving on iPhone and Mac?
- Open settings App
- Select “General” section
- Select Airdrop and choose appropriate option
- Receiving Off: You won’t receive AirDrop requests.
- Contacts Only: Only your contacts can see your device.
- Everyone: All nearby Apple devices using AirDrop can see your device.
If you see Receiving Off and can’t tap to change it:
- Go to Settings > Screen Time.
- Tap Content & Privacy Restrictions.
- Tap Allowed Apps and make sure that AirDrop is turned on.

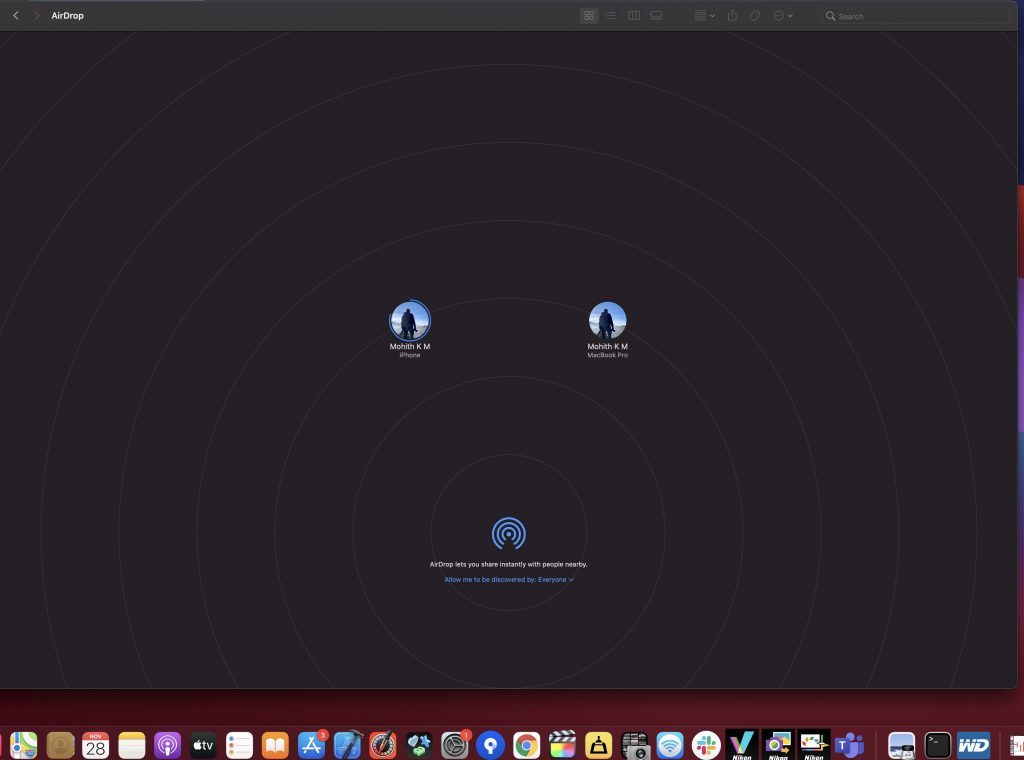
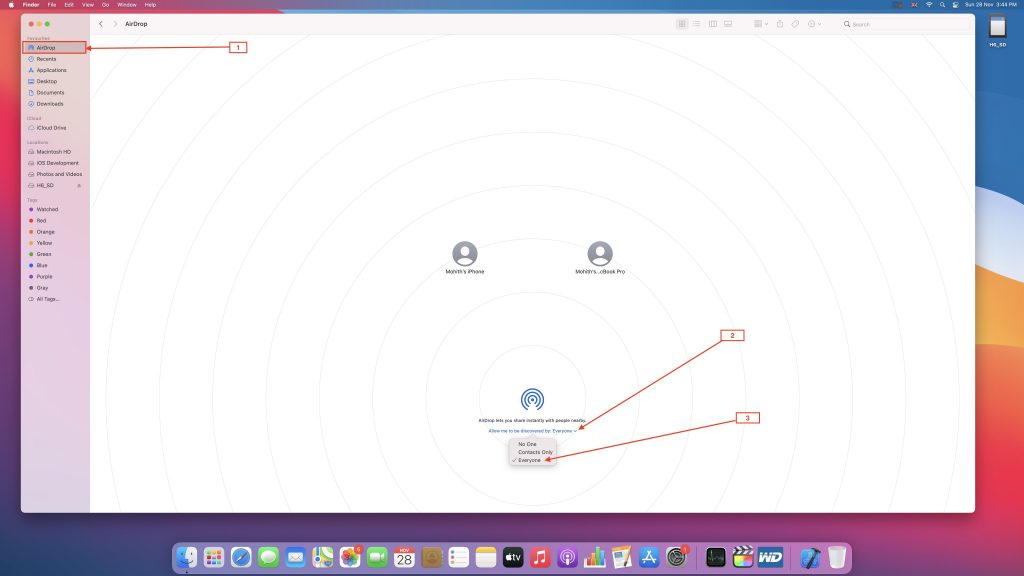
How to Turn ON/OFF Airdrop in MAC
- Launch Finder App
- Select Airdrop from left navigation bar
- Select Off to turn off Airdrop, Contacts Only to enable only your contacts to AirDrop you, or Everyone to let everyone AirDrop you.
FAQ
Problem: Airdropping transfer failed to save item
Solution: Try turning OFF and turn back ON iPhone or restart MacBook / iMac
Solution 2: Check if device receiving have enough free space to save the item.
Problem : contacts don’t show up in the AirDrop interface On Mac
Solutions:
- Toggle Bluetooth and Wi-Fi off and back on to reset the connections.
- Turn off Instant Hotspot to free up the Bluetooth and Wi-Fi connections.
- Temporarily switch to Everyone
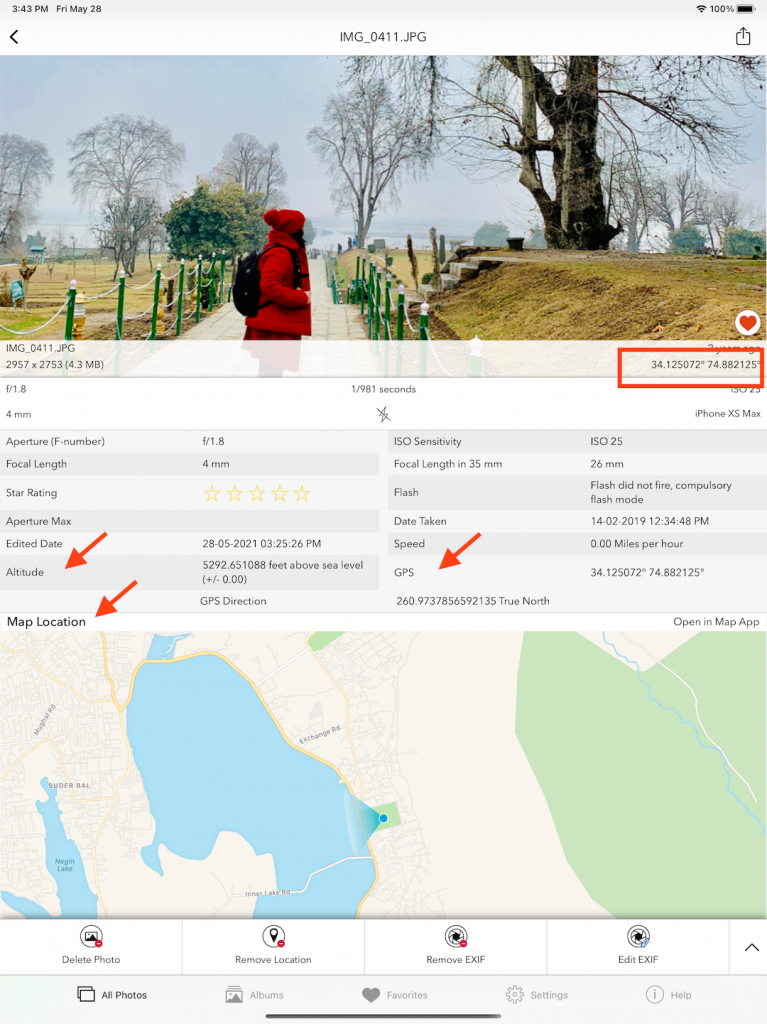
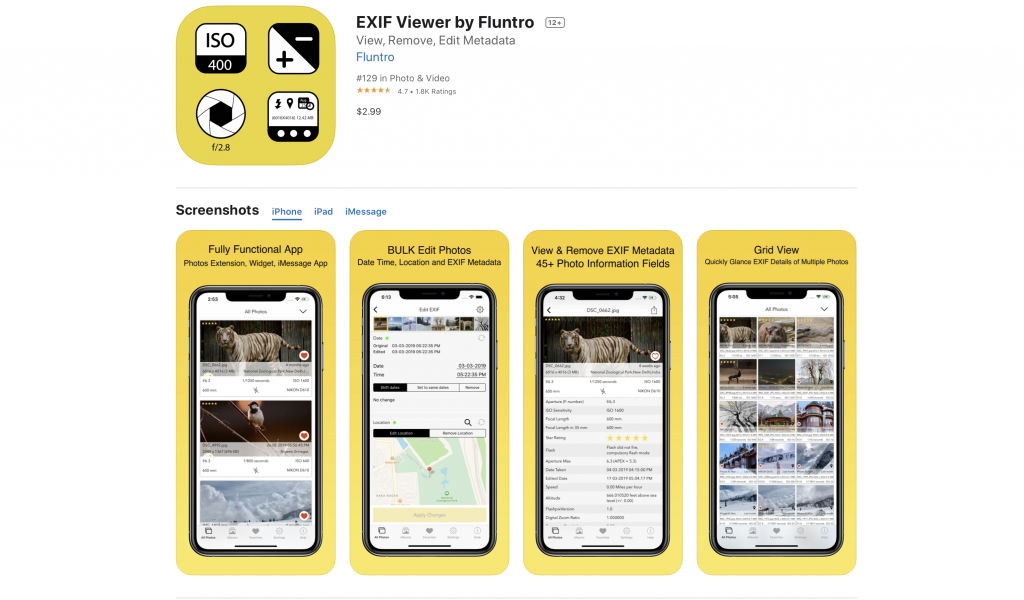
Once Photos are available on your iPhone or iPad and if you want to know Photo’s Metadata details like, “Date taken”, “Shutter speed”, “ISO”, “Aperture”, “GPS Coordinates”. Checkout our EXIF Viewer App by Fluntro – costs 2.99 USD as on Today.